
If you've not followed one of my tutorials before, these are done to allow other artists some insight into the experimental techniques I use to create my sculpture work. This tutorial will take you step by step from concept to the final creation. They are usually done in real time, meaning that as I am creating it I am also taking time to photo document the process and post and write about it as each step is completed. Depending on the sculpture, the process may take a week to two weeks to complete. I appreciate feedback and commentary in the space provided below. I will answer any questions to the best of my ability both during the process and after it concludes.
- SCULPTURE NAME: Face #1 (Temp Name)
- SCULPTURE SERIES: Faces of the Revenant Cycle
- SIZE: N/A
- PRICE POINT: Not yet decided
Concept
The concept of this piece was to design a sculptured face series that may eventually lead to doing a series of Mardi Gras masks later on using some newer experimental techniques that I work with.
Details
I am using a glass head for this piece. The detailed head is often used for other projects so I want to be able to reuse it later. This concept will allow me to recycle it when I cut the foil later.
Because I want to connect this series directly to previous work through the Assimilation Art concept, I've chosen the Revenant Cycle as the bridge point. Later I may attempt a variation of this technique on a real person rather than a glass head.
Step #1
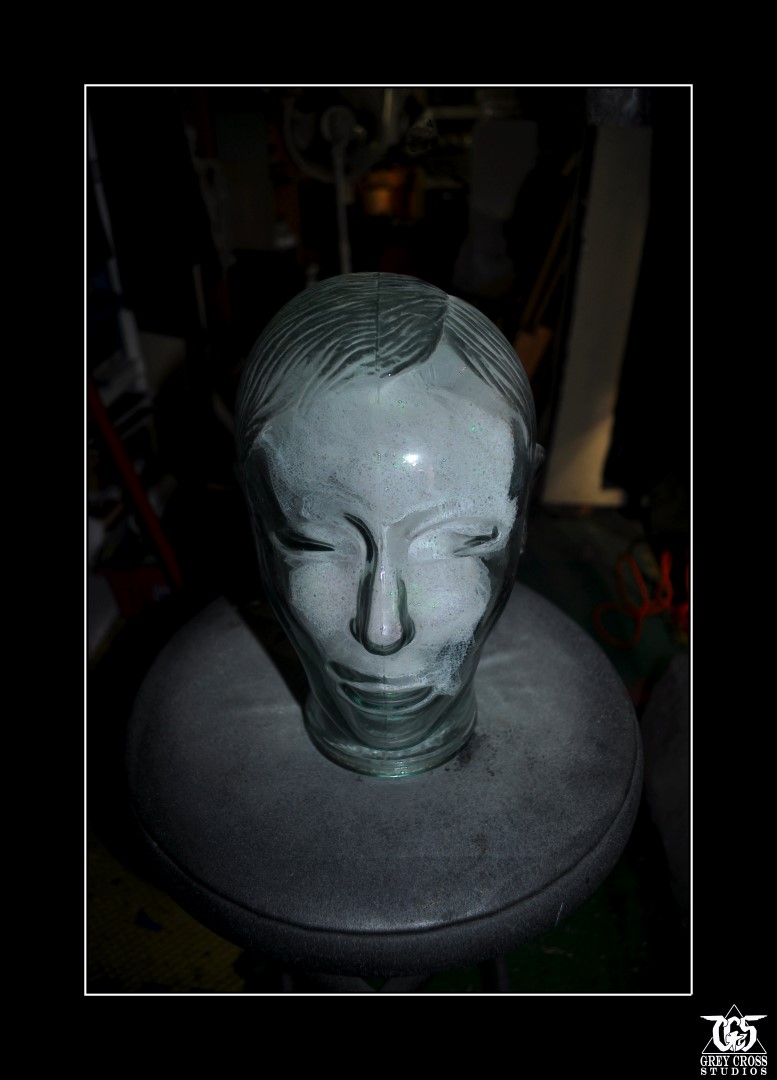
Wrapping the Glass Head
The first step is to wrap the glass head in several layers of tin foil. This will allow for easy removal of the face once its completed by cutting the tin foil with an exacto blade around the center of the head. Here is the head before wrapping so you can see the basic shape.
Here you see the head wrapped in 3 layers of tin foil. Its not important for any of the details of the glass head to show, but just the basic fundamental positions of ears, eyes, nose and mouth. Most of the detail work will be overlaid in clay over the foil. What is important is that there are enough layers between the head and the clay that it does not rip while the face is being formed. It must also go completely around the head to create a secure wrap that can be cut later.

Step #2
Basic Natural Clay Overlay
First is to create a stretched clay overlay over the whole front of the head. Its important to delineate the borders of the face at the top of the head so that we know where to cut the tinfoil later. If the clay stretches too far back then it wont slip off the glass head easily. Once the overlay is created then detail work can begin. Keep in mind that the overlay has to be thick enough to carve details easily without cutting into the foil beneath it. Just keep the clay at skin depth is not enough. I'm going about a quarter inch deep right now but may add more when I work the details.

Work the clay in small portions making sure that its pushed in tightly to the tin foil. Each piece should be solidly laid in and worked around the edges of the clay before the next piece is added. You want no slack on the foil. The clay should be tightening the foil to the glass head with each piece.


You'll note at this stage she has no mouth. Thats because the mouth needs to be indented into the skull where most other parts will stick out. Once the overlay is complete and secure detail work can begin.

Step #3
Choosing the Eyes
Its crucial to lay in the eyeballs early so the skin around the eyes can be built up around them. I've chosen two simple pearl white Mardi Gras beads that I saved from a broken strand. I want the eyes on this to be larger as it is a spirit creature. So these suited the size I wanted for the piece. Placing them is as simple as pushing them into the clay overlay so they stay in place firmly while working around them.

Step #4
First Detailing
Here is the first detailing of the face, fleshing it out, adding depth and some wrinkle work. The most difficult part of the detailing is that once the foaming glue is added, some of the detailing will disappear beneath the glue. So its important to judge the depth and to monitor the glue as it expands. Some features need to be exaggerated to take this into account. Of course its a spirit creature so exaggeration is not necessarily a bad thing.

Step #5
Finer Detailing
The face is more creased and worn now. He has ears now which narrows the face a bit. Note also that I've removed the eyes in order to get ready for gluing. They'll be replaced after the glue has dried partially.

Step #6
Front Foaming Glue
We now apply foaming glue to the complete face to seal it and start to give it some character. The first thing though is placing it in a drip plate so that glue that might drip out doesn't seal the face to the plate. I use the back of a slotted shelf where I can balance the mask above and let the glue drip down.

Now the foaming glue is added to the face in a very light coat, making sure to fill all the cracks and grooves but not allowing too much overflow so that it doesn't foam to much. There is just enough water in the clay to make the glue raise but not raise too much.

Once the glue completely covers the face, then it has to be watched closely. Anyplace where the glue begins to foam too much it needs to be tapped back down before it dries completely. In these photos you can see the gradual progression of the glue as it turns a lighter shade and begins to rise. Pay close attention to the lips, the eye sockets and the heavier wrinkles in the face. Occasional removal of excess glue is a priority.


At this stage of drying the eyes have now been placed back in the sockets so that the glue can naturally seal them into place. Its important to watch around the edges and make sure the glue doesn't foam up around them.

At this stage (about 45 minutes into the gluing process) the glue has now set hard around the clay.

Step #7
Black Basing
Just before we remove the face from the glass head we will give it a quick uniformed spraying of black paint over it. This will be done several times more in later steps. The face is now ready to remove from the glass head mold.

Step #8
Removing the Mold
Now the foil must be cut away carefully. You want to leave about an inch of foil that can be folded under after the face is removed.


Here the face has been totally removed from the glass head mold and stands independently frozen in place by the foaming glue.

Step #9
Back Gluing
Now the exposed foil needs to be carefully folded under around the edges. Once thats done then the whole inside of the face needs to have foaming glue applied to it. This will seal the face completely and seal the foil beneath the glue. Now the real detail work can begin.


Step #10
Adding Features
Now the first stage of the face is completed and we begin to focus on the finer details to turn it into a faerie creature of the Revenant Cycle. This will be done in several stages. This stage includes horns and broader lips. I will continue to add features slowly, using foaming glue to seal each feature in place before going onto the next until I am satisfied with the details.

Step #11
Black Basing the Horns
A quick application of black spray paint to the added areas and the piece is ready to continue working on.

Step #12
Adding Wrinkles & Back Base
At this stage I felt it was wise to mount the face on a tile base. It was glued in place first then the clay extended along the edges and reglued. The piece now becomes a wall hanging.
I felt after looking at it that the face seemed to scaly, almost animal like. I wanted to bring more of a wrinkled human quality back into the piece. I've done so by using tissue paper spray misted with water and then adhered to the mask using mod podge. I did not want it to cover the whole face so I just applied it around the eyes.


Step #13
Black Basing the Flesh
Here we've done yet another black basing over the dried tissue. You can see how its changed the appearance ever so subtly.

Step #14
Final Details
Now here you will have to forgive me. I had a camera problem which did not allow me to document the last detail work. In the final image below you can see that I made some major changes to the horns. I removed the top horn completely, hiding it beneath the large glass star and I took the side horns and extended them, curling them over to bury them in the face just below the star. I felt the symmetry fit the face better. I also slightly extended the mouth.
I decided at the last minute that I wanted to go with the purple, green and gold of Mardi Gras Colors for him. His name (when I decide it) will reflect this most likely. The last step was to polyurethane the whole piece to give it a glow. Its now completed.

FINAL NOTES
As an experiment I feel this one was a success. Using the tinfoil as the base worked very well. I'd like to get a wig head next and make one on that so that the face was the general size of a human head. This glass form I used was just slightly smaller. But I could see making one that fits the face for Mardi Gras masks that could be worn. I'll experiment again with the technique.
The most important thing is that the mask is strong and not fragile. While dropping this would probably result in some damage, I feel its strong enough to be worn also if I can get the sizing right. But thats for future tutorials!
No comments:
Post a Comment